3D Mesh#
Tip
This feature requires trimesh. You can install it via pip install "docarray[full]".
A 3D mesh is the structural build of a 3D model consisting of polygons. Most 3D meshes are created via professional software packages, such as commercial suites like Unity, or the free open source Blender 3D.
DocArray supports the following file formats for 3D data handling: .obj, .glb and .ply.
You can explore interactive 3D data visualization with DocArray in the following Google Colab Notebook:
![]()
Vertices and faces representation#
A 3D mesh can be represented by its vertices and faces. Vertices are points in a 3D space, represented as a tensor of shape (n_points, 3). Faces are triangular surfaces that can be defined by three points in 3D space, corresponding to the three vertices of a triangle. Faces can be represented as a tensor of shape (n_faces, 3). Each number in that tensor refers to an index of a vertex in the tensor of vertices.
In DocArray, you can load a mesh and save its vertices and faces to a Document’s .chunks as follows:
from docarray import Document

doc = Document(uri='mesh_man.glb').load_uri_to_vertices_and_faces()

doc.summary()
 <Document ('id', 'chunks') at 7f907d786d6c11ec840a1e008a366d49>
    └─ chunks
          ├─ <Document ('id', 'parent_id', 'granularity', 'tensor', 'tags') at 7f907ab26d6c11ec840a1e008a366d49>
          └─ <Document ('id', 'parent_id', 'granularity', 'tensor', 'tags') at 7f907c106d6c11ec840a1e008a366d49>
This stores the vertices and faces in .tensor of four separate sub-Documents in a Document’s .chunks. Each sub-Document has a name assigned to it (‘vertices’ or ‘faces’), which is saved in .tags:
for chunk in doc.chunks:
    print(f'chunk.tags = {chunk.tags}')
chunk.tags = {'name': 'vertices'}
chunk.tags = {'name': 'faces'}
You can display your 3D object and interact with it via:
doc.display()
Point cloud representation#
A point cloud is a representation of a 3D mesh. It is made by repeatedly and uniformly sampling points within the surface of the 3D body. Compared to the mesh representation, the point cloud is a fixed size ndarray and hence easier for deep learning algorithms to handle. In DocArray, you can simply load a 3D mesh and convert it into a point cloud of size samples via:
from docarray import Document

doc = Document(uri='mesh_man.glb').load_uri_to_point_cloud_tensor(samples=30000)

print(doc.tensor.shape)
(1000, 3)
You can display your 3D object and interact with it via:
doc.display()
.tensor of a chunk Document with the name tag 'point_cloud_colors'. The colors have to be of shape (n_samples, 3) or (n_samples, 4).
n_samples = 1000
colors = np.random.rand(n_samples, 3)
doc = Document(uri='mesh_man.glb').load_uri_to_point_cloud_tensor(samples=n_samples)
doc.chunks = [Document(tensor=colors, name='point_cloud_colors')]
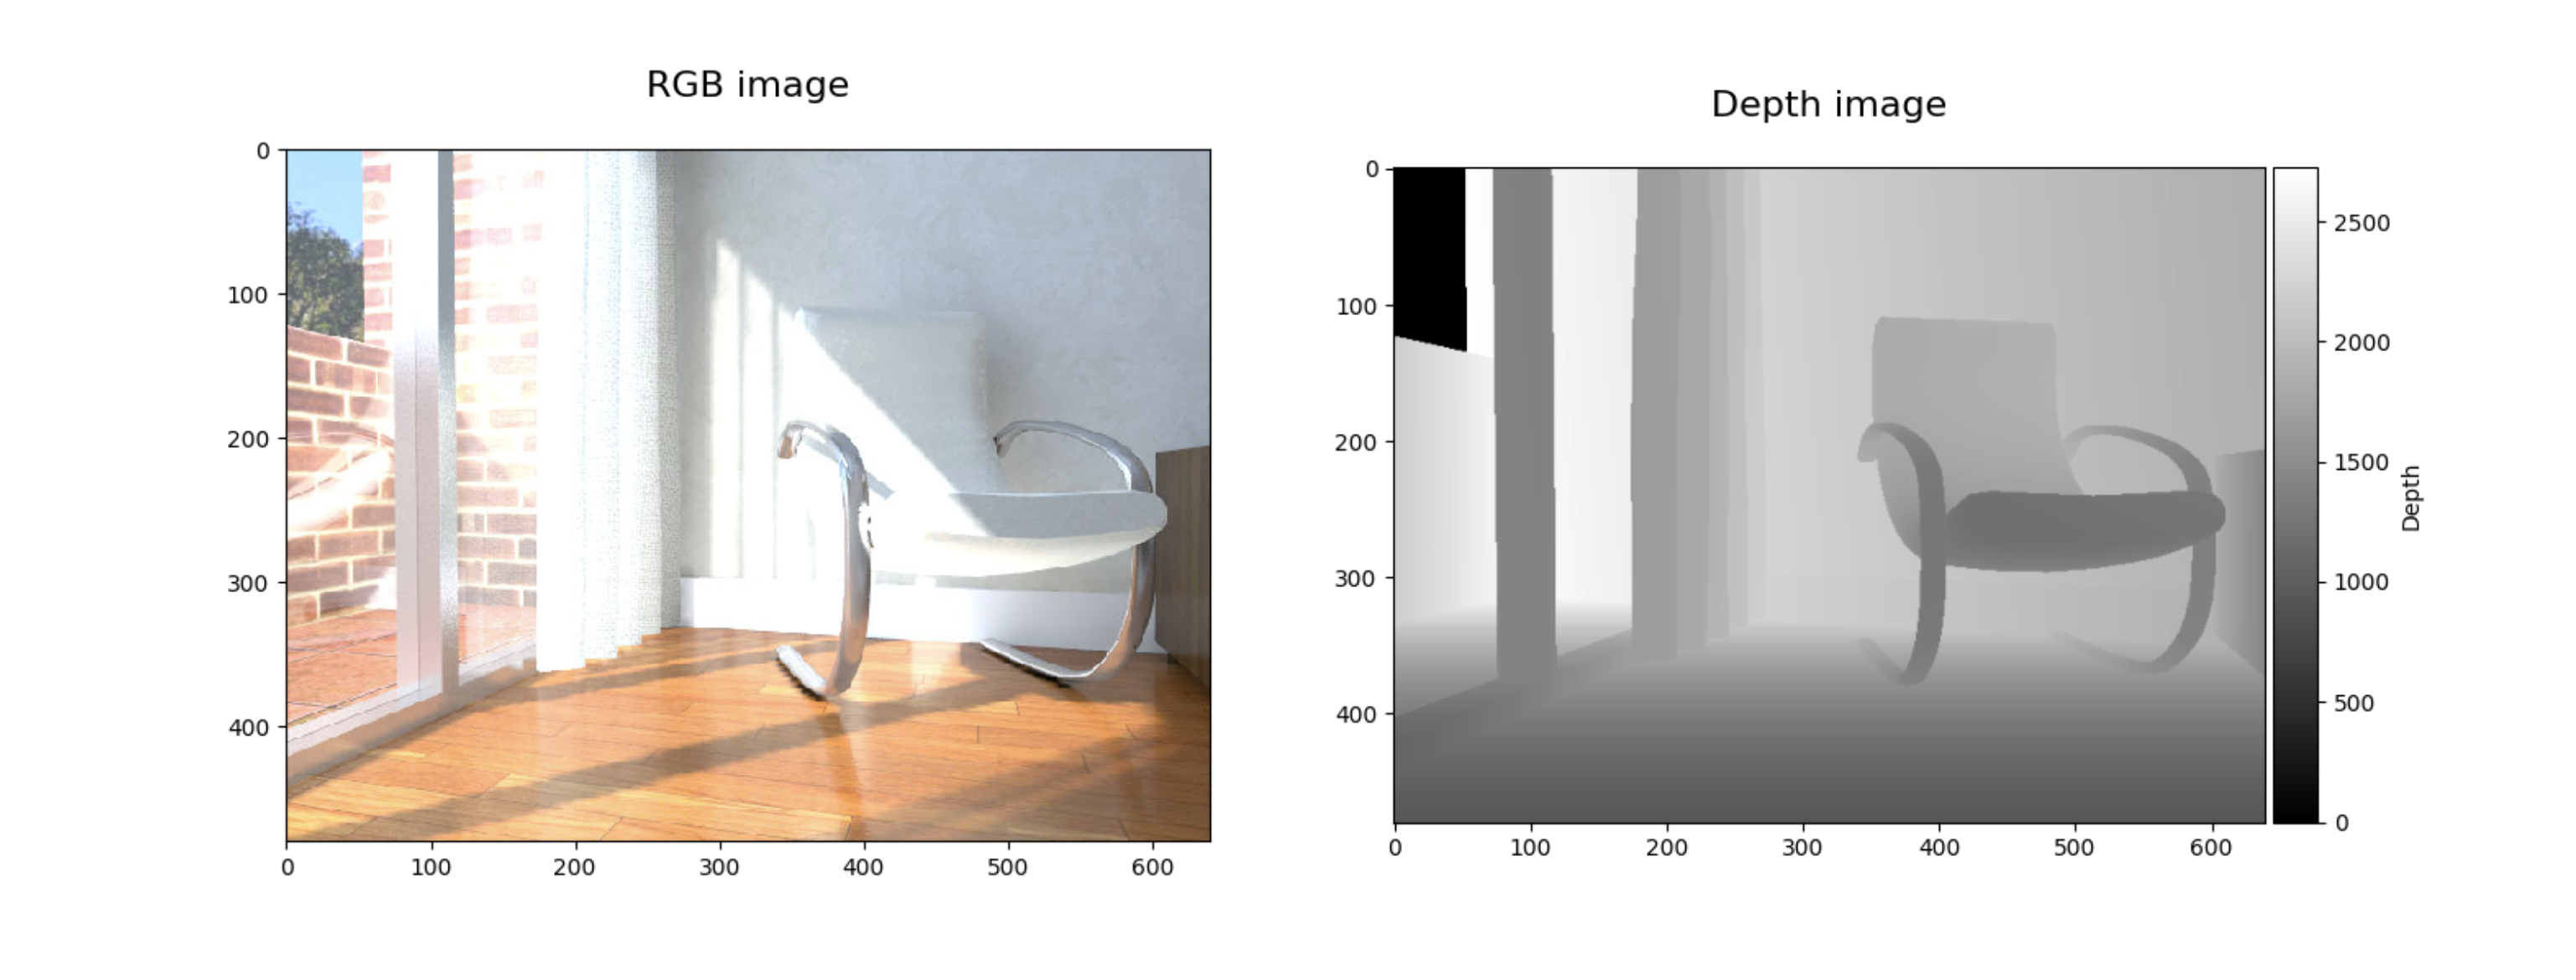
RGB-D image representation#
The RGB-D image representation includes an RGB image of shape (w, h, 3) and a corresponding depth image (w, h). The depth image describes the distance between the image plane and the corresponding object for each pixel in the RGB image. Since the RGB and depth image are of identical width and height, they can be easily concatenated and stored in a tensor of shape (w, h, 4). Due to their fixed size, RGB-D images are suitable for 3D data representations for input to machine learning models.
With DocArray you can store the uris of an RGB image and its corresponding depth image to the .uri attribute of a Document’s .chunks. You can then load the uris to the Document’s .tensor attribute at top-level:
from docarray import Document

doc = Document(chunks=[Document(uri='rgb_000.jpg'), Document(uri='depth_000.jpg')])
doc.load_uris_to_rgbd_tensor()

doc.summary()
<Document ('id', 'chunks', 'tensor') at 7f907d786d6c11ec840a1e008a366d49>
    └─ chunks
          ├─ <Document ('id', 'parent_id', 'granularity', 'uri') at 7f907ab26d6c11ec840a1e008a366d49>
          └─ <Document ('id', 'parent_id', 'granularity', 'uri') at 7f907c106d6c11ec840a1e008a366d49>
To display the RGB image and its corresponding depth image:
doc.display()